If, else and switch…case statements are very important control structure in programming languages. It provides any programming language an important property to perform a specific operation if a certain condition is met. Switch…case statement is almost same as if else statement. In this statement we check more than one condition and execute codes according to that condition. We can also set a default case code in the case when any of condition is not true.
Arduino buying links
| Amazon link for India | Amazon link for other countries |
Table of Contents
If else condition in Arduino
If statement checks any condition and if it is true then it executes a particular piece of code which is written in the ‘if’ block (in if curly braces {} or code just next to if statement). We can or cannot use the else statement with if statement, it just execute the code in it when ‘if’ condition is not true. Syntax of ‘if’ statement looks like this.
if (condition) {
//statement(s)
}
Condition can be anything like a>2, a<2 or a%2==0 (where ‘a’ is an integer type variable). If condition is true then it will return ‘1’ and ‘if’ condition will execute its statement. So ‘if’ condition takes a Boolean as parameter. Let’s see some example codes.
int a = 2;                   //declaring a integer type variable a and assigning it 2
void setup() {                  // put your setup code here, to run once:
  Serial.begin(9600);           //initializing the serial communication
  if (a==2) Serial.println("a is 2");   //checking if a is equal to 2 and serial printing (one statement)
  if (a==2)                     // checking if a is equal to 2
  Serial.println("a is 2");             // serial printing (one statement)
  if (a==2){                    // checking if a is equal to 2
  Serial.println("a is 2");             // serial printing(one statement)
  }
  if (a>=2)//checking if a is greater than or equal to 2
  {
    Serial.print("a is 2");
    Serial.println(" or greater than 2");
  }
}
void loop() {
  // put your main code here, to run repeatedly:
}
Output: a is 2
a is 2
a is 2
a is 2 or greater than 2
In this code ‘a’ is assigned with 2 and in the setup block serial communication is initialized with 9600 baud rate. Then we have four ‘if’ condition. All syntax of ‘if’ statement in this code are correct. If we have to execute only one statement after ‘if’ statement then it is our choice to somehow write it as shown in first three conditions. If we have more than one statements then we have to write it in the curly braces otherwise next line will be executed as instruction outside from ‘if’ statement.
Printing even and odd number on serial monitor
Let’s see an example where number from 0 to 100 is sorted as even and odd number on serial monitor. Let’s see the code first.
int a;                  //declaring a integer type variable a
void setup() {          // put your setup code here, to run once:
  Serial.begin(9600);   //initializing the serial communication
  Serial.print("even"); // printing the label for even
  Serial.println("\todd");      // printing the label for odd and giving tab (\t) between both labels
  for(a=0; a<=100; a++){     //for loop from 0 to 100
  if (a%2==0)           // checking if number is divisible by two
    Serial.print(a);    //serial printing the number if it is divisible by 2 (a is even)
    else{                       //if number is not divisible by 2
      Serial.print("\t");       // printing tab
      Serial.println(a);        // printing a, if it is not divisible by 2 (a is odd)
    }
  }
  }
void loop() {
  // put your main code here, to run repeatedly:
}
Output:
In this code we have declared the variable ‘a’ to iterate the for loop. In the void setup function we have initialized the serial communication and printed the labels for both even and odd types of number and given a tab space between them. Using Serial.println function we can print in existing line but next time when we print something, it will be printed in new line.
Then we started the for loop which will iterate 101 times from “a=0” to “a=100”. Every times when for loop will iterate value of ‘a’ will increment by one. In each for loop iteration number will be printed on serial monitor based on it is divisible by 2 or not. If number is divisible by 2 then it is even and it will be printed without tab space. If it is not divisible by two then it will be printed with tab.
After every two iteration of for loop, one even and one odd number will be printed in one line separated with tab and new line will be created for next two. This way we can sort the numbers.
Nested if
We can use another if statement inside an existing if statement. This is called nested if.
int a = 10;               //declaring a integer type variable a
void setup() {          // put your setup code here, to run once:
  Serial.begin(9600);   //initializing the serial communication
  if (a>5){          //checking if a is greater than 5
    if (a%2==0){                //checking if a is even
      Serial.print("a is greater than 5 and it is even");
    }
  }
  }
void loop() {
  // put your main code here, to run repeatedly:
}
Output: a is greater than 5 and it is even
If else ladder
This feature of ‘if’ statement allows us to take different actions based on different conditions. Let’s see its syntax.
if (condition1){
statement(s)
}
else if (condition2){
statement(s)
}
We can use another if condition in previous else block. This is called if else ladder. Let’s see an example.
int a = 10;
void setup() {                  // put your setup code here, to run once:
  Serial.begin(9600);           //initializing the serial communication
  if (a < 2){                        // checking if a is less than 2
    Serial.println("a is less than 2");
  }
  else if (a > 2){                   // checking if a is greater than 2
    Serial.println("a is greater than 2");
  }
  else{                         //if a is 2
    Serial.println("a is 2");
  }
}
void loop() {
  // put your main code here, to run repeatedly:
}
Output: a is greater than 2
This way we can checks for different condition. So that if first condition is not true then it will check for next condition.
Switch case statement
Switch…case statement do the same as if else ladder. It switch different cases of an operation and perform an action according to a particular case.
Let’s see an example where we will divide a number by 5 and see if it number is divisible by 5 or not. If not then what is its remainder and print it on serial monitor. Of course you can perform another operation instead just printing it on serial monitor.
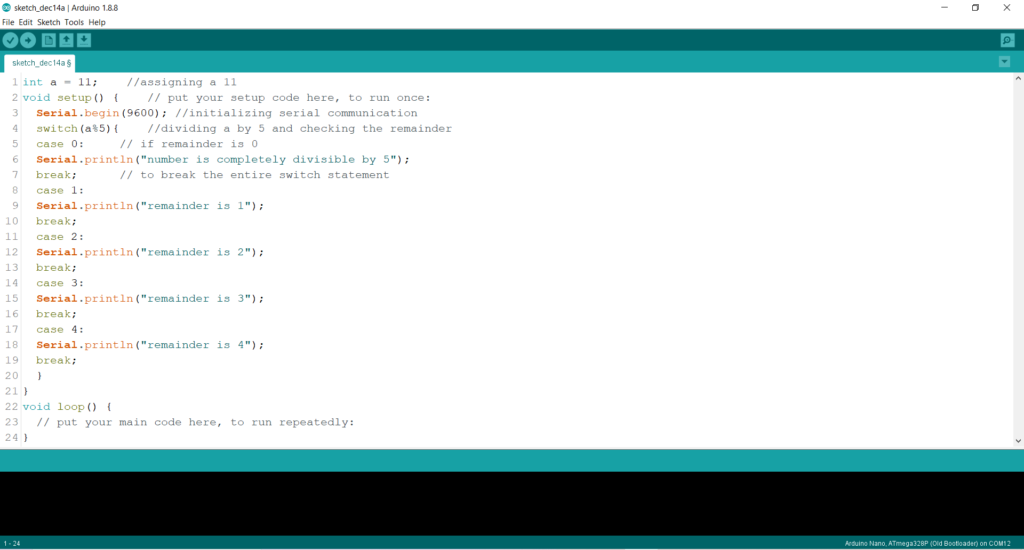
int a = 11;          //assigning a 11
void setup() {          // put your setup code here, to run once:
  Serial.begin(9600);   //initializing serial communication
  switch(a%5){          //dividing a by 5 and checking the remainder
  case 0:                       // if remainder is 0
  Serial.println("number is completely divisible by 5");
  break;                        // to break the entire switch statement
  case 1:
  Serial.println("remainder is 1");
  break;
  case 2:
  Serial.println("remainder is 2");
  break;
  case 3:
  Serial.println("remainder is 3");
  break;
  case 4:
  Serial.println("remainder is 4");
  break;
  }
}
void loop() {
  // put your main code here, to run repeatedly:
}
Output: remainder is 1
We have given “a%5” as input parameter of switch statement which will give the remainder after dividing a by 5. Based on remainder switch statement will switch a case and execute its instructions. We can choose a default case for a condition where any cases are not true then the default block will run.
default:
//statement(s)
Break;